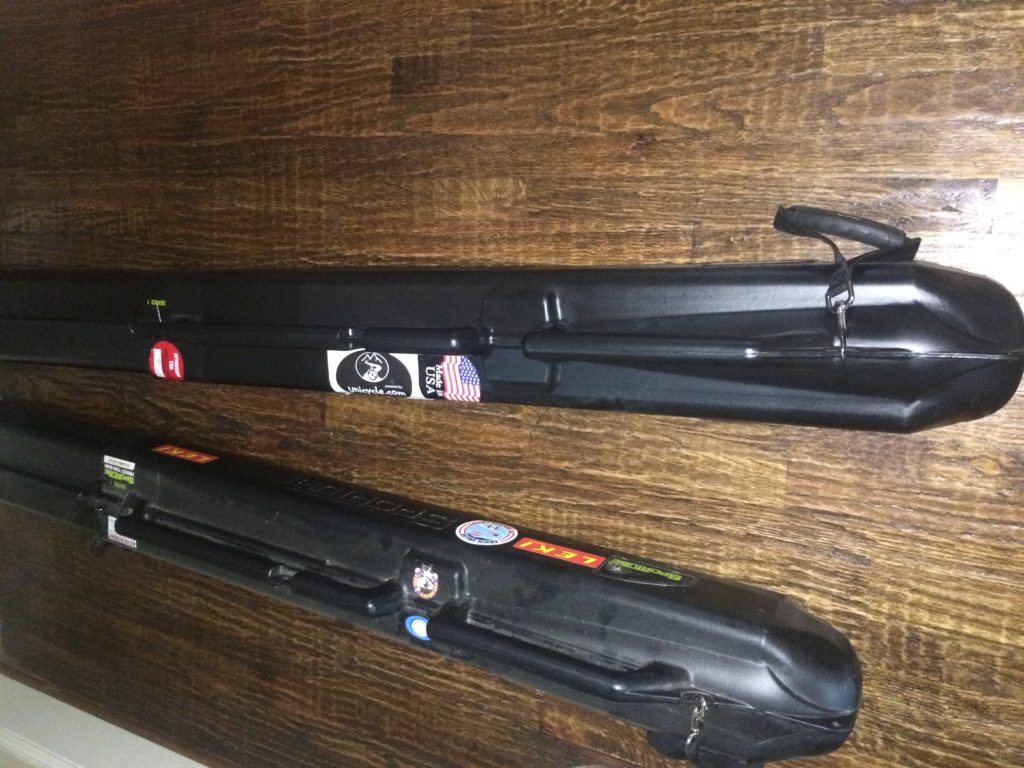
Ski racers tend to be nomadic people. Chasing snow all over the world, traveling to race starts, and finding that “best” camp experience is just what they do – So, packing and un-packing is just part of ski-race-life!
but…. packing skis…. race skis …the very thing that can determine a certain outcome for all that time, money, training and effort should not be taken lightly.
Many methods exist for packing skis, and all have certain pro / con trade offs. A quick sampling of products include: the single soft pack, double soft pack, single / double padded roller soft pack, single / double ski tubes, padded triple bags, etc.
For this post, I want to quickly cover the single ski tube approach to packing race skis.
Key benefits of using a Ski Tube for packing skis:
- Hard protective tube that protects ski edges and bases.
- Can be easily strapped to a roof rack for extra space in small vehicles, and protect skis when heading to race.
- Has wheels.
- Expands to SG / DH lengths ~212cm for SportTube
- Collapses down for storage and ease of carrying smaller slalom skis, etc.
- Can be used as FedEx’d / UPS shipping container – just add a label.
- Rain / water resistant. No textile material that needs to dry out. (especially when on a roof rack)
How to pack a SportTube Series 1 [brand of ski tube]
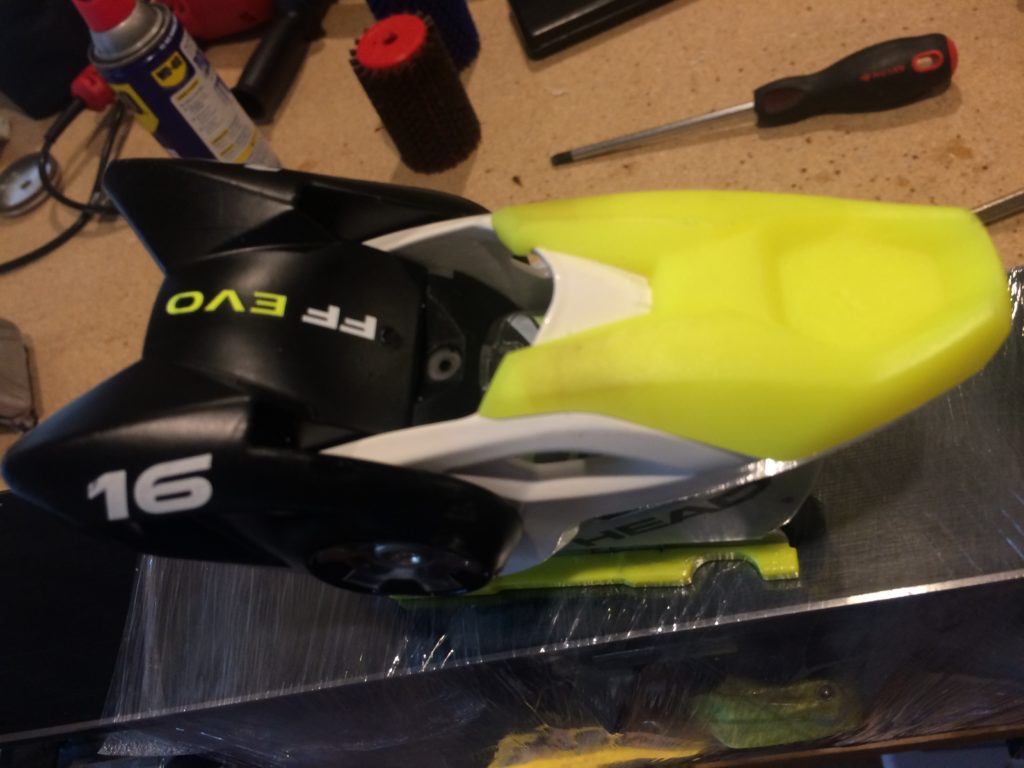
1 – Remove the rear heel pieces from bindings. Without bindings attached, skis become much more manageable. The rear of the binding in particular is protruding. Eliminating the offending appendage helps tremendously. Most race binding heel pieces are quick to remove with a simple screwdriver. Fischer / Head / Tyrolia will require a large flat-head screwdriver. Simply insert into the tab at the rear of the heel and pull up. Once the tab is lifted, the binding will slide easily off the track to the rear of the ski. Add a binding break band / retainer to get the breaks out of the way as well.
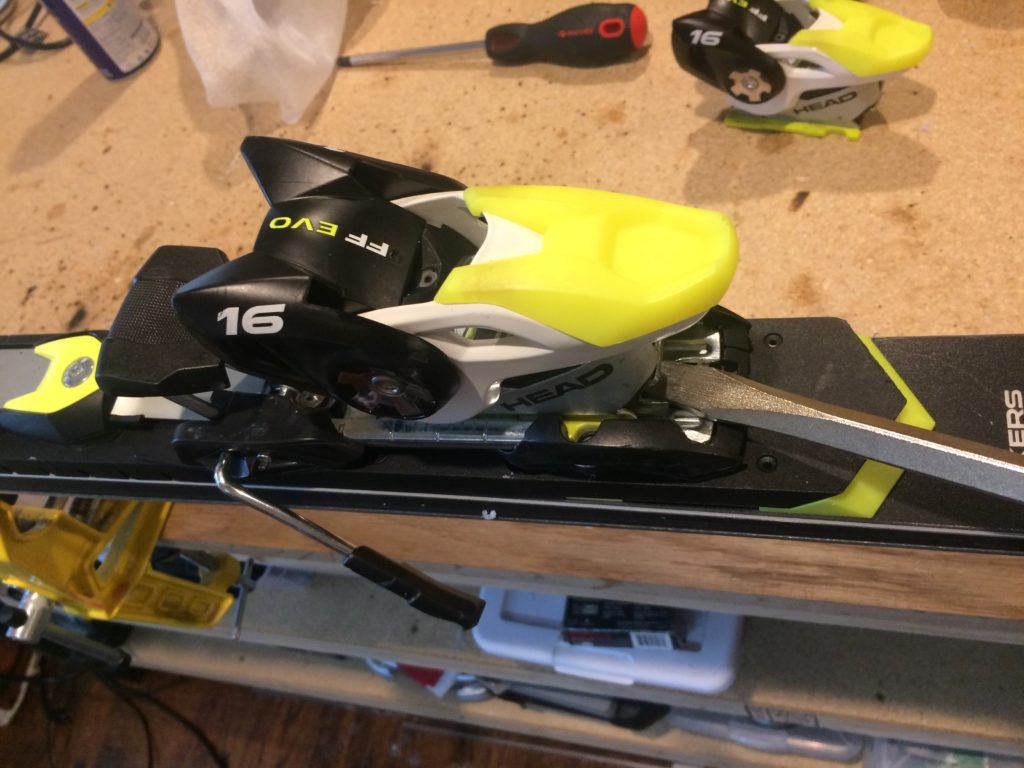
Lift Tab 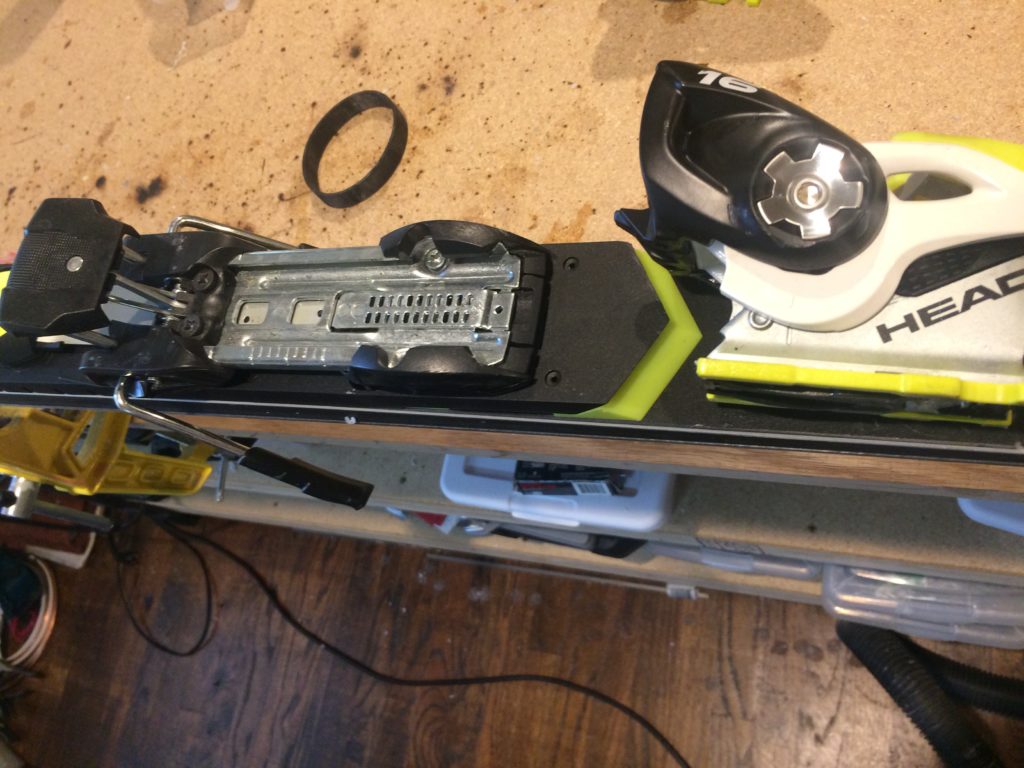
Side off heel 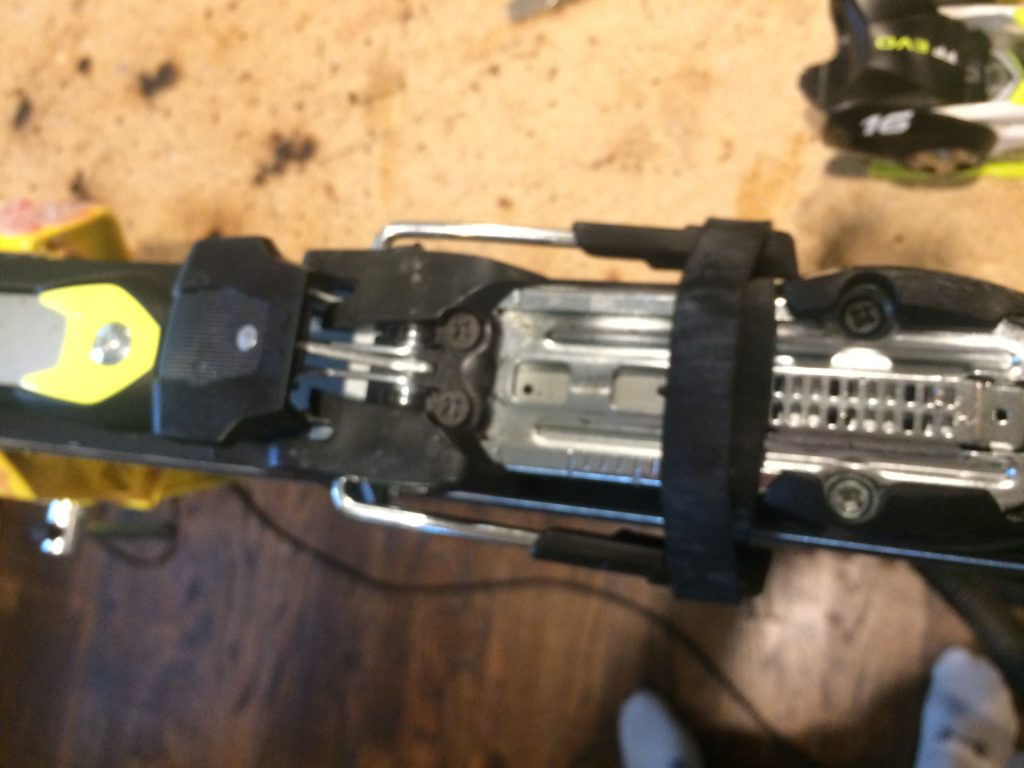
Retain Breaks 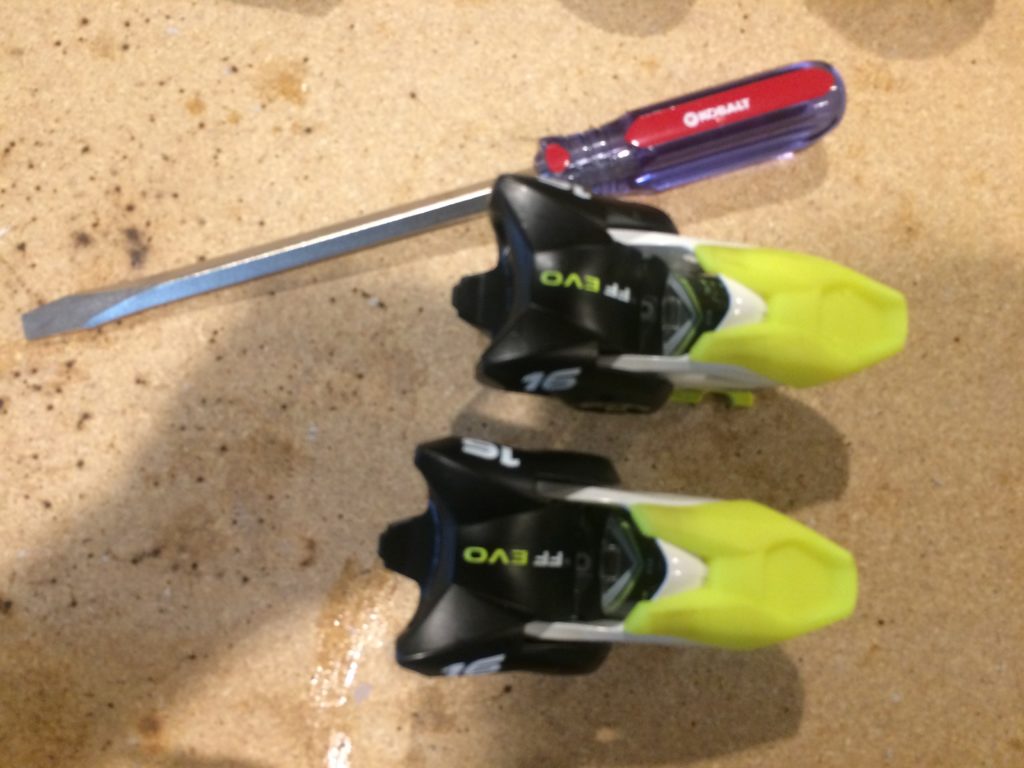
Heel Pieces off skis
Rossignol / Look heel pieces removal requires a large phillips head screwdriver.
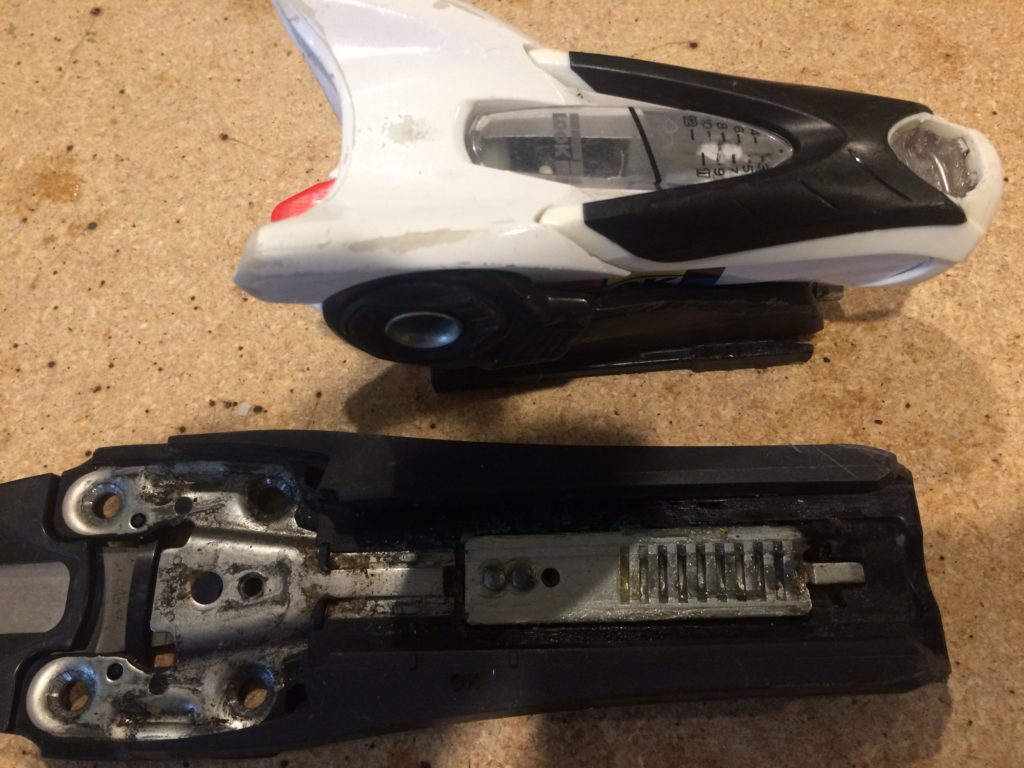
Heel Removed 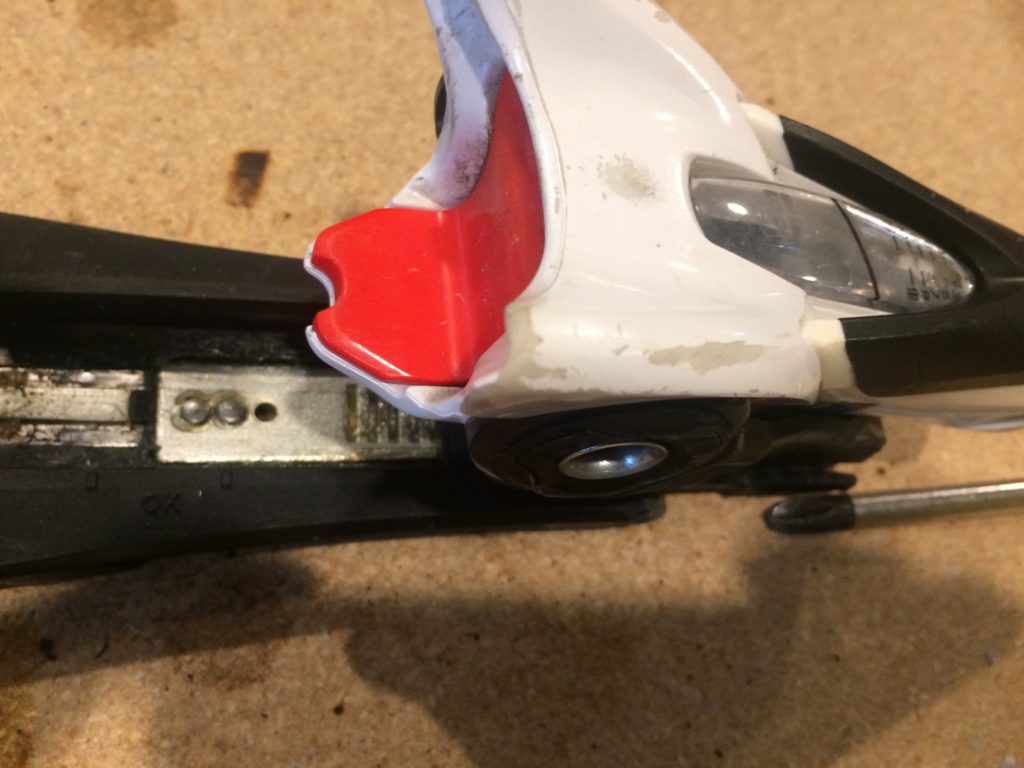
Heel off track 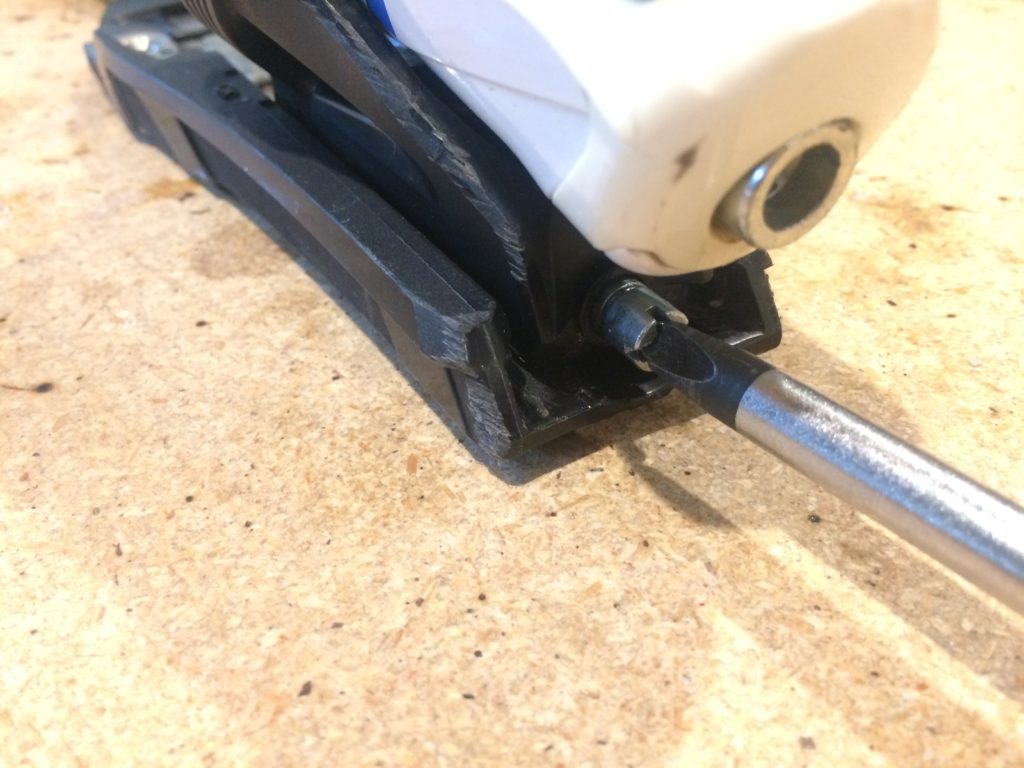
Unscrew bottom screw to release
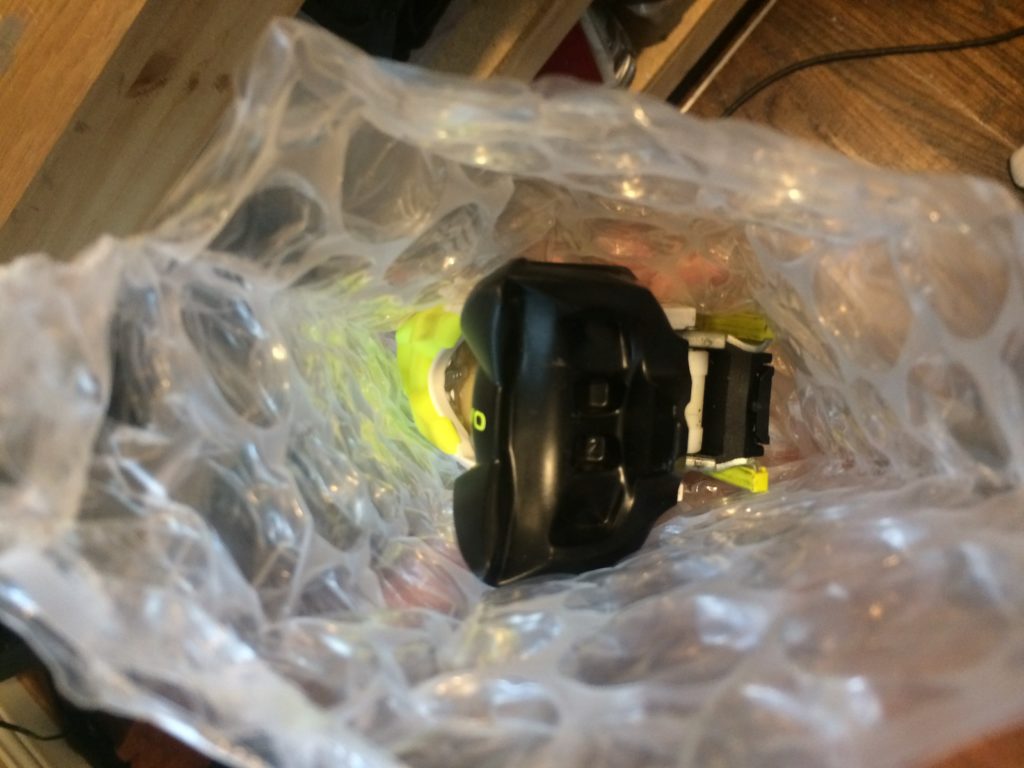
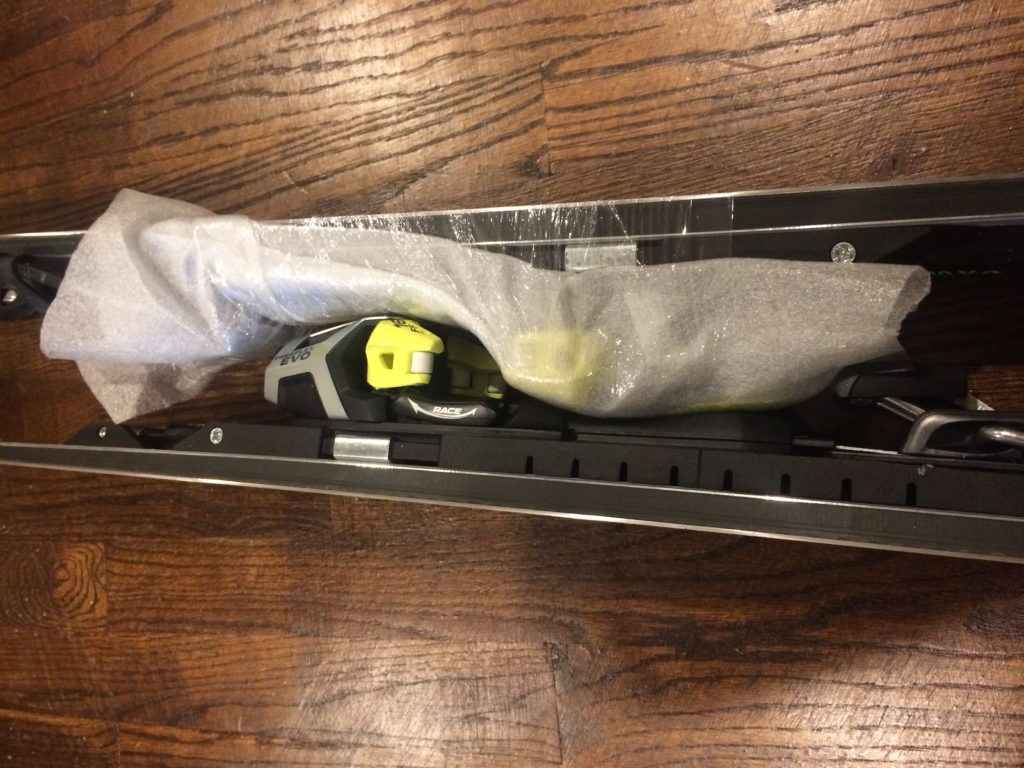
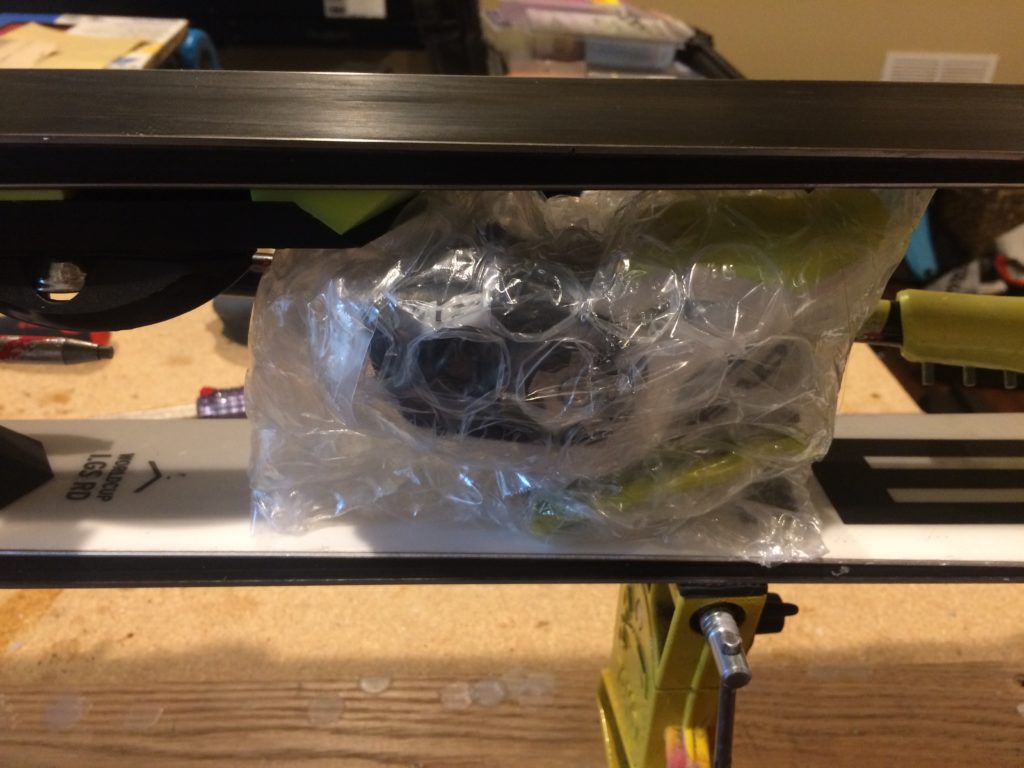
2 – Pack the Heel Pieces . Add foam or bubble, or even a towel around the heel piece to prevent it from rubbing inside the packing.
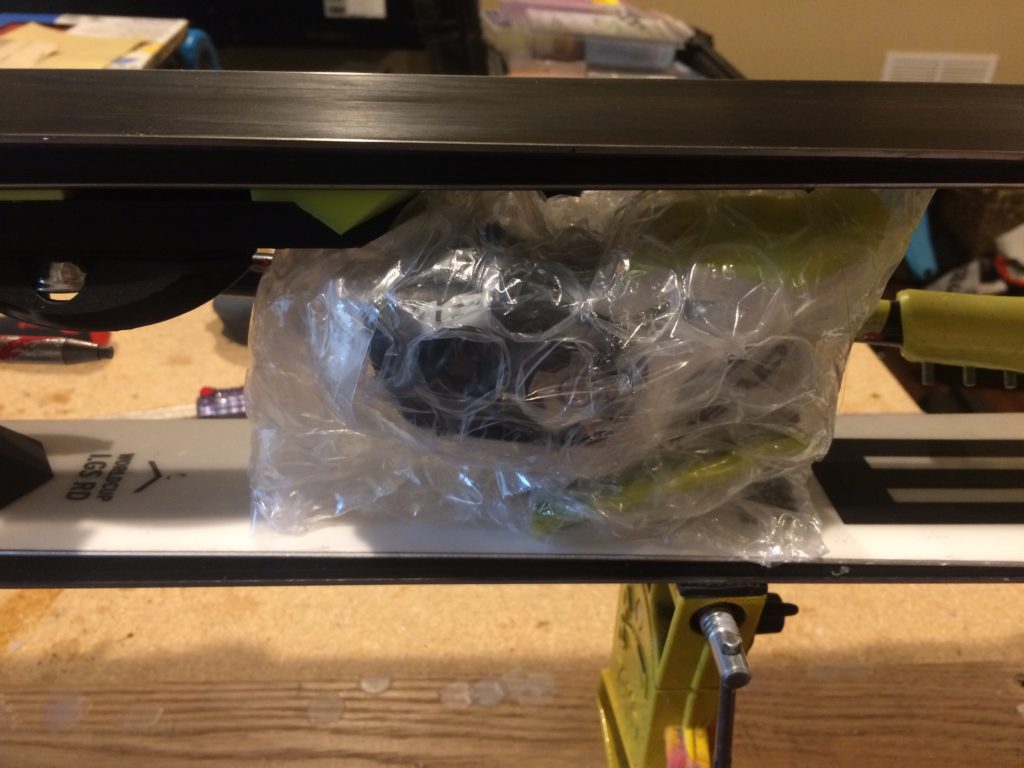
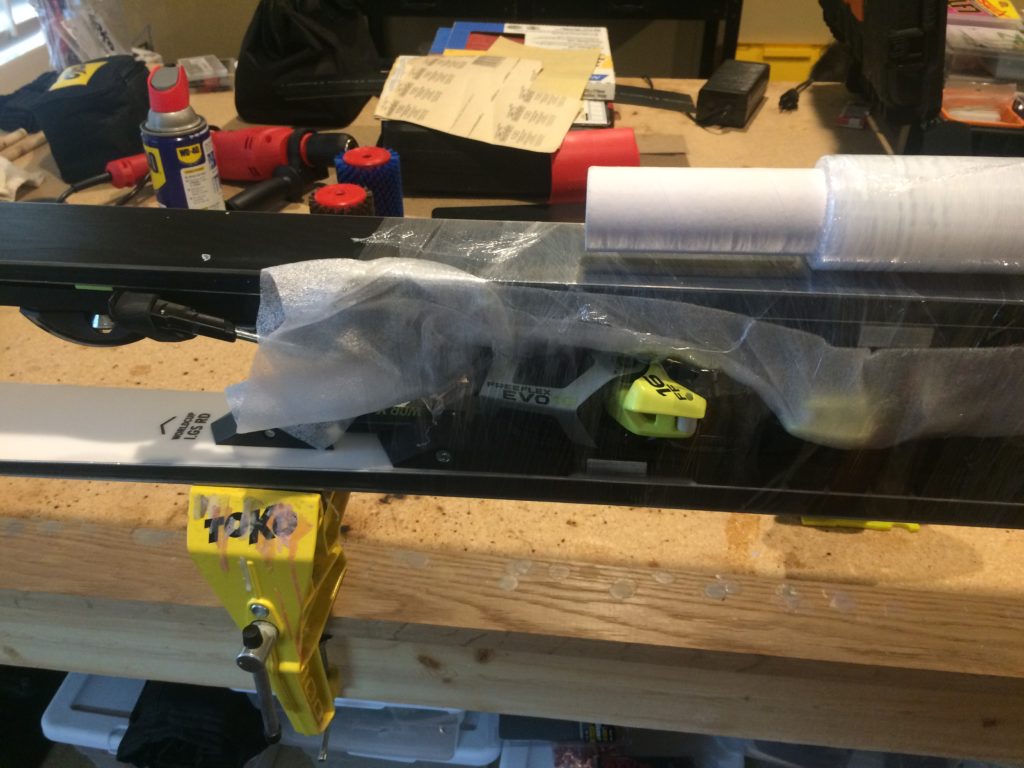
3- Stack the skis tip to tail. On a tuning bench, or, suspending the skis between boards add paper, foam, bubble wrap between binding toe piece and ski stacked on-top.
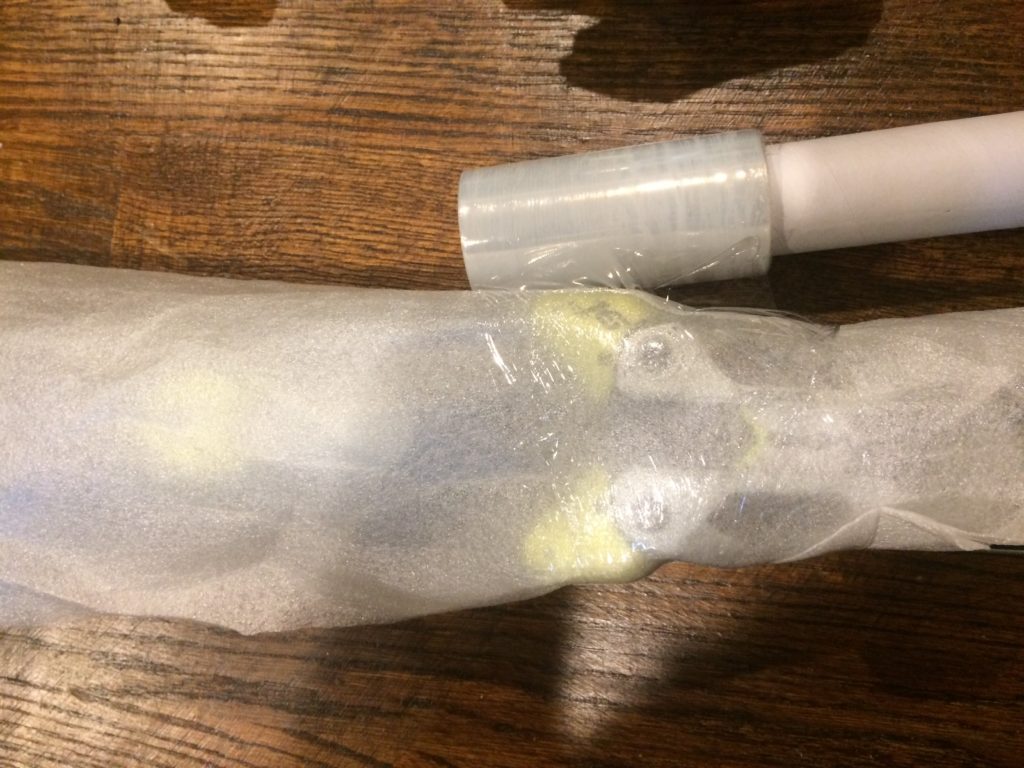
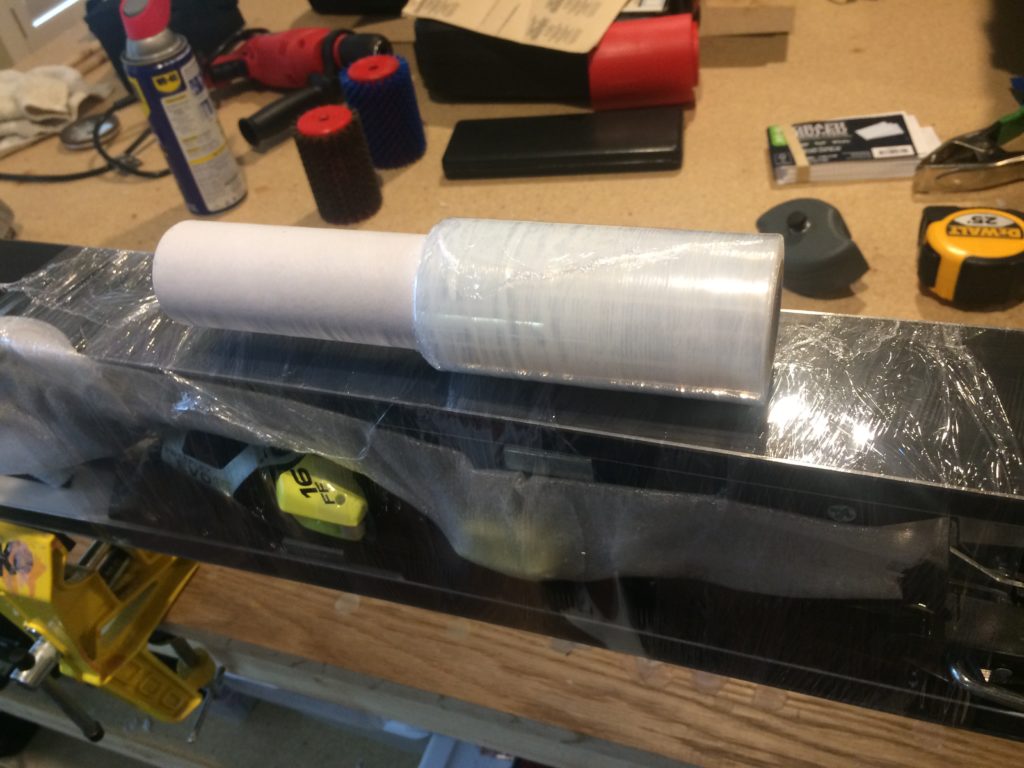
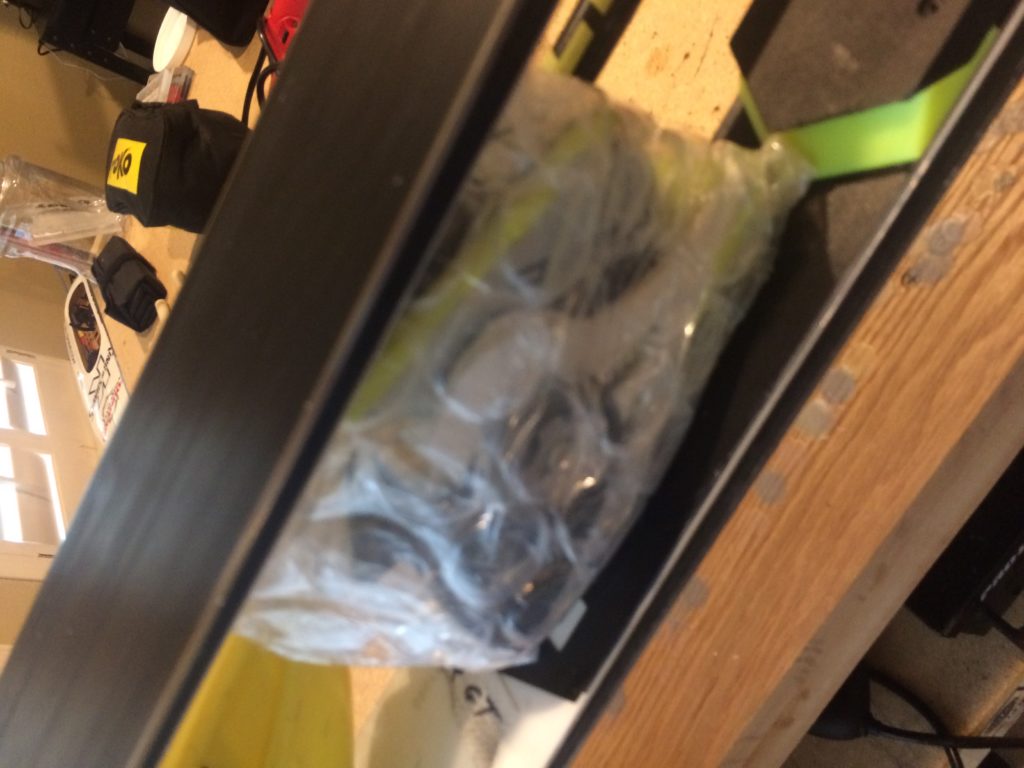
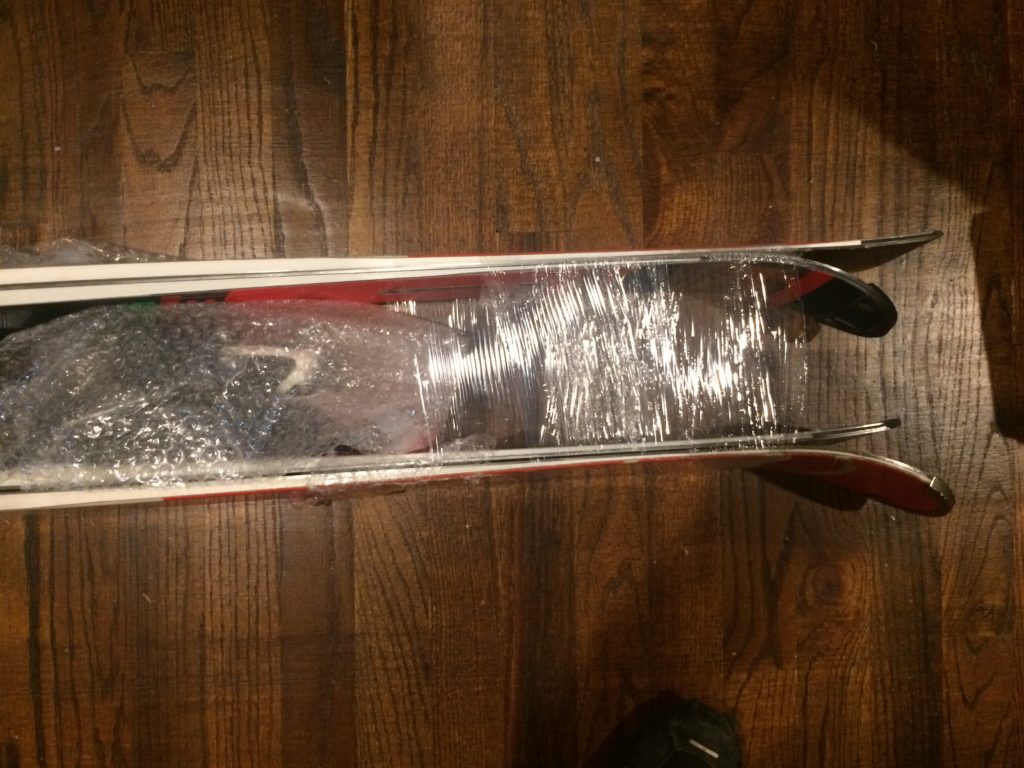
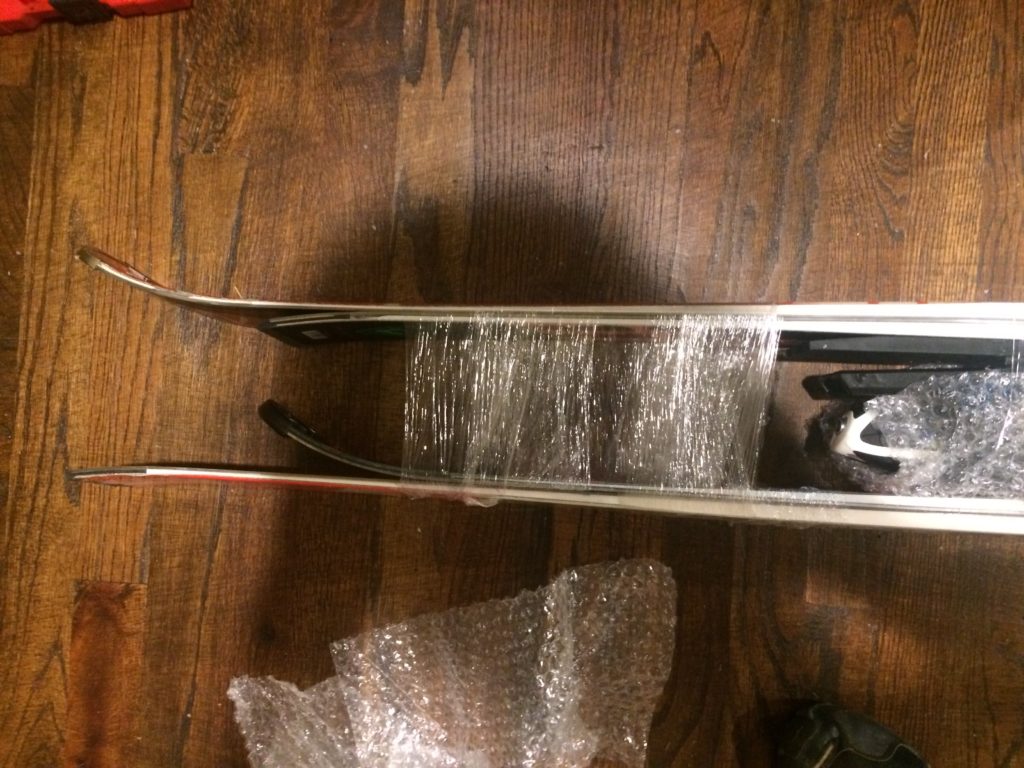
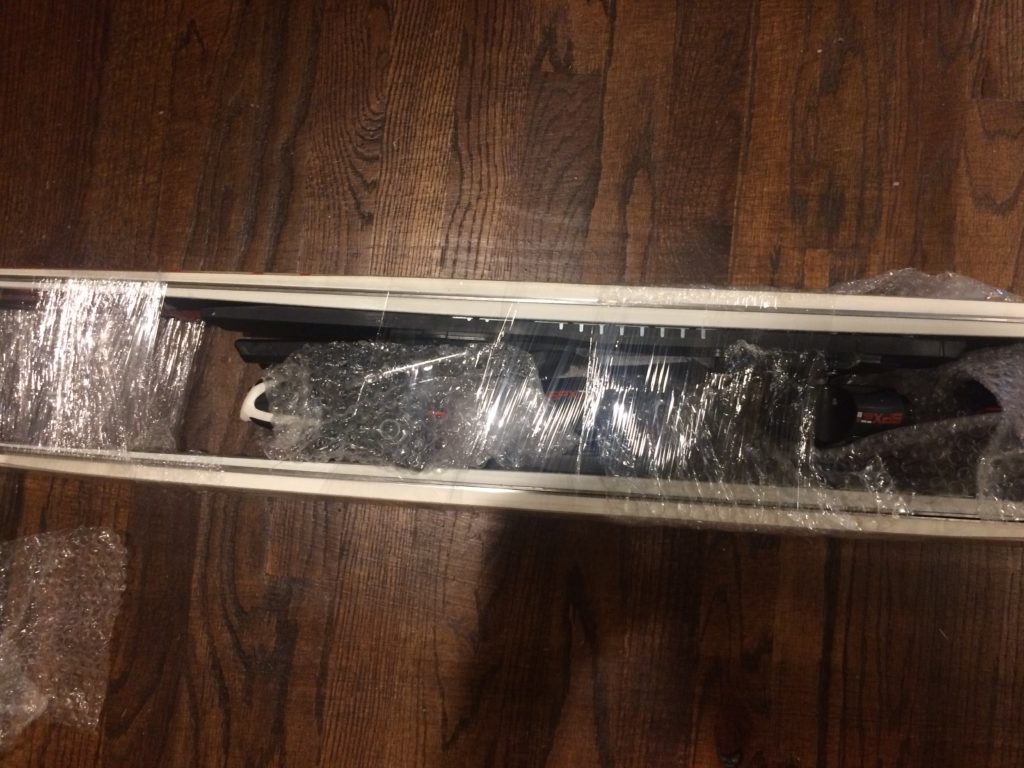
4- Wrap the skis. Use stretch wrap [similar to cling wrap, but, heavier and designed for packing], found at WallMart, Amazon, etc. to wrap the skis at the bindings together.
Slip heel pieces between skis prior to completing wrapping.
Add Poles or anything else to the wrapping job – think of it as fly-paper… it all just clings together and is very strong.
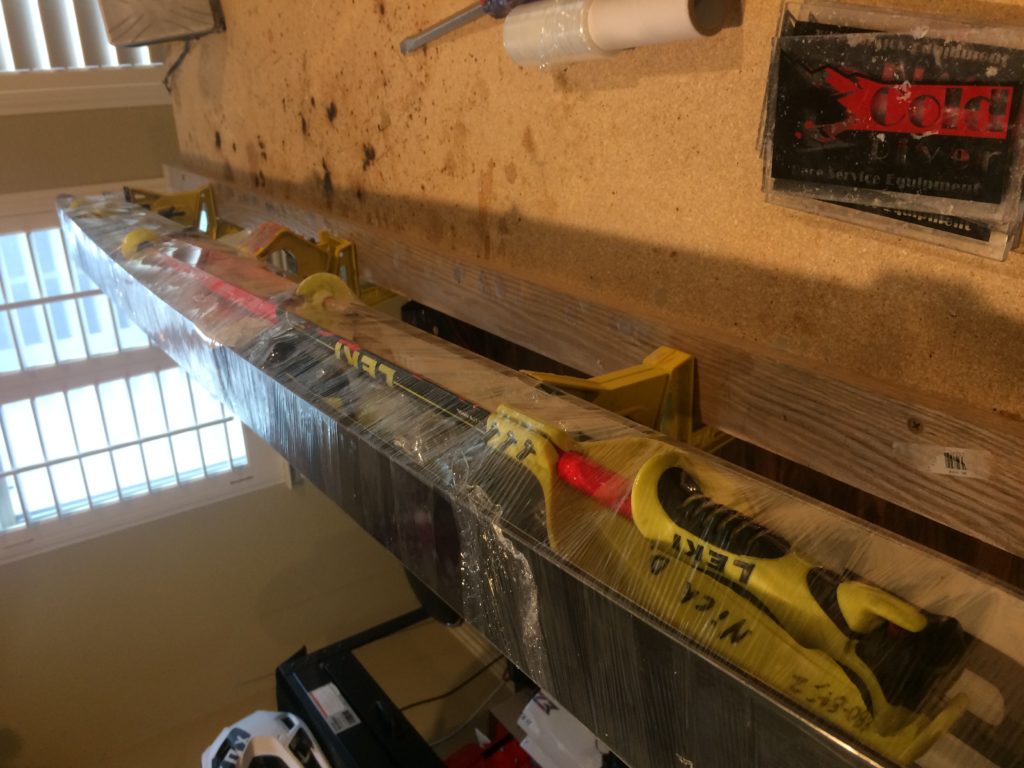
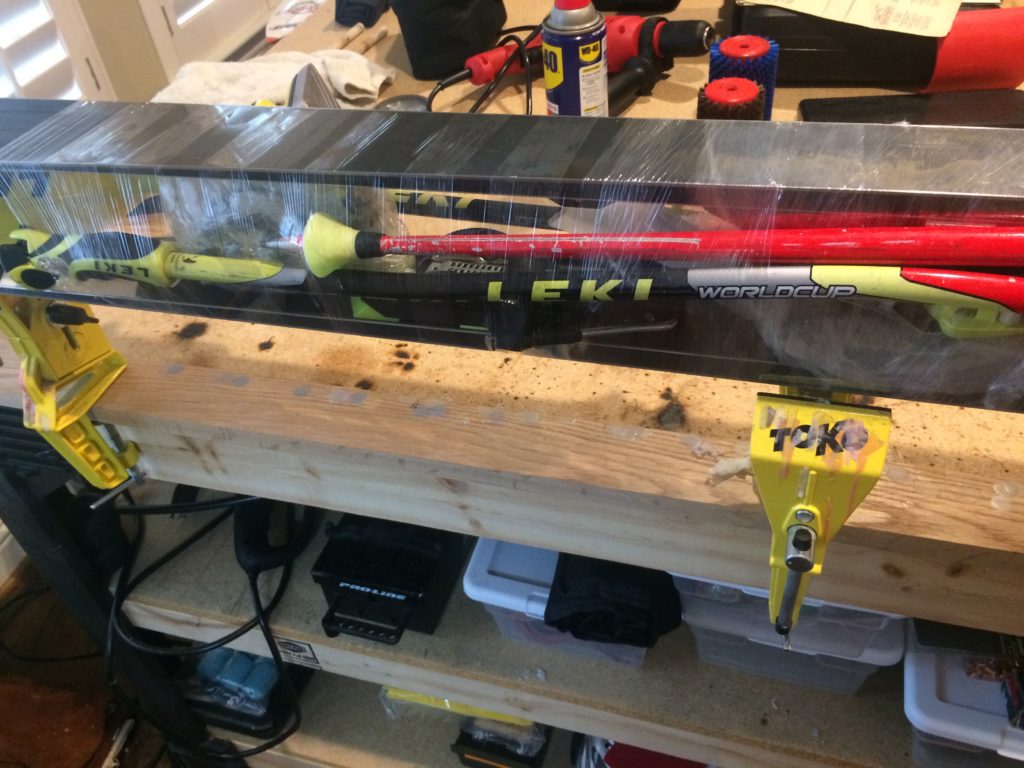
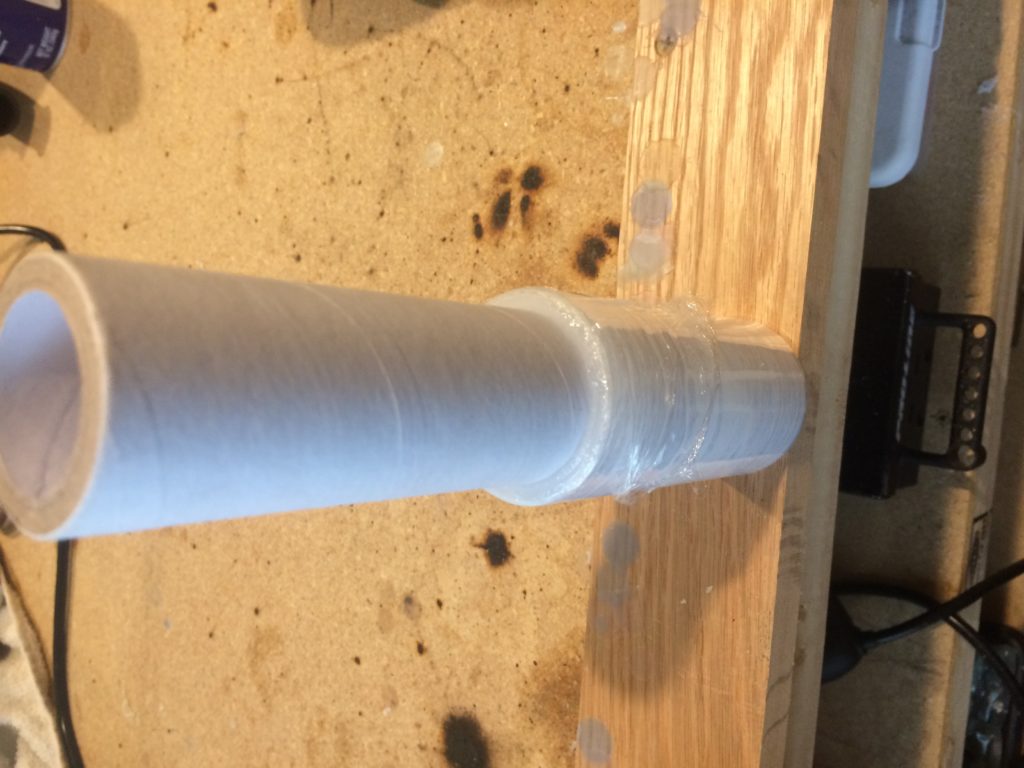
Stretch Wrap 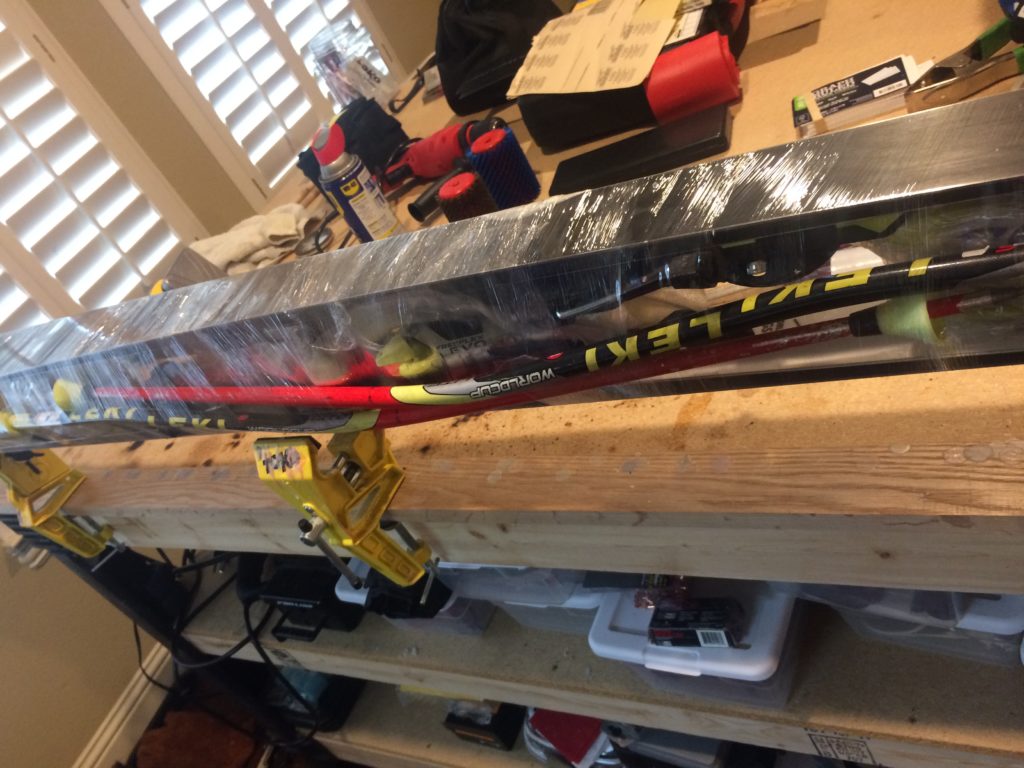
stretch wrap does not leave a residue like tape, allows for a more secure grip when pulling stuff together, and is inexpensive.
5- Slide the entire bundle into the SportTube Series 1. Its almost a given that TSA will open the tube, and its important the stretch wrap is tight and nothing is floating around that could get lost. Make it as easy as possible for the package to slide out, and be slid right back in. The Series 1 is designed for 1 pair skis, however, with heel pieces off, its possible to pack two pairs of skis in each tube. However, be mindful of the weight. Most airlines limit each bag to 50lbs before assessing over-weight charges.
On the far-end, you will need to slide back on the heel pieces. If you did not count the clicks when turning out the Look screw, or, note the tab position for Tyrolia, you will need to re-set the toe pressure [not a bad habit to double check it anyway].
Think this took a great deal of time… think again… 10 min. tops… and I know my edges are sharp and the bases will not be damaged.
Safe Travels!
-RacerX
